Getting the perfect distressed finish takes a lot longer than just painting it. There are so many distressed finishes out there, so I thought I'd finish a few samples and let our daughter choose one.
I started out with two different wood stains. The one on the left is Minwax Jacobean. The one on the right is Rustoleum Driftwood with a little Jacobean mixed in. One of these would be the base coat.
Once the base coat dried, I applied a thin, watered down paint (Lowe's Signature Ultra White in Satin). The sample of the right doesn't have any stain under it. I was hoping our daughter would pick that one since it would be a lot easier. I used some fine grit sandpaper to distress the samples.
I was surprised when she chose the left one.
The funny thing is, (and I didn't realize it until just now) that I should have stained it with Jacobean and instead, I stained it with Driftwood, mixed with Jacobean. Oops!
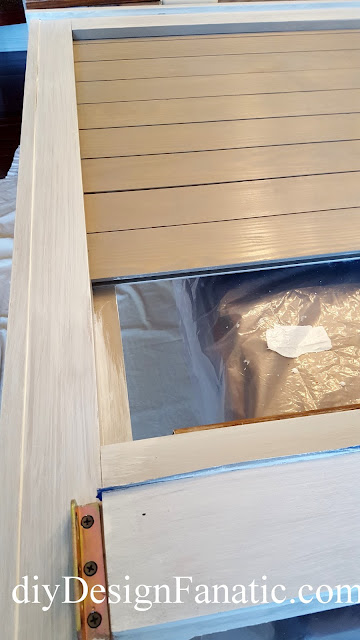
The first thing I did was stain the back of the headboard...
Then, the front.
I didn't take a photo of it, but despite applying the wrong stain, I managed to finish the back side of the bottom of the headboard (the brace) and it turned our pretty close to the sample she picked.
I don't think she liked the finish on the headboard though. When she saw the finish on the headboard, she said that she could always paint it white at another time.
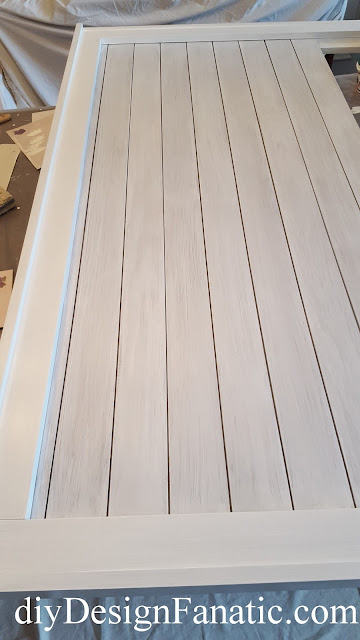
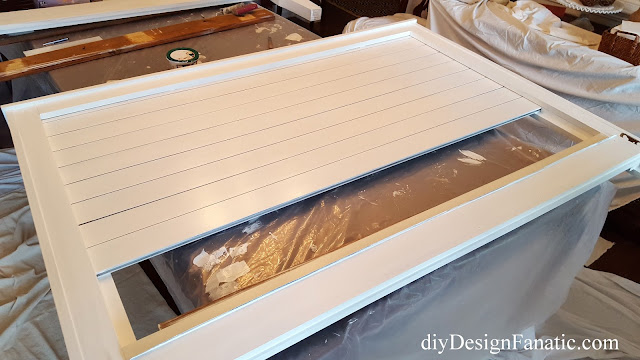
I took that to mean she'd like the paint to be whiter. So, I applied 2 thin coats of watered down paint, plus a dry brush coat. I applied this to the frame of the headboard and what I call the brace (below the headboard)
The frame has 2+ coats and the center has only 1.
It almost looks like the headboard has just been painted at this point, but the grain of the wood still shows through a bit.
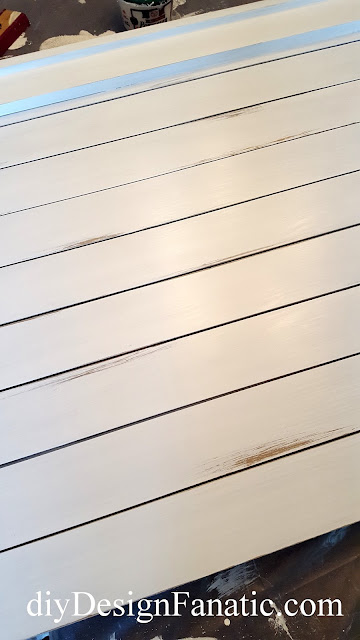
Once I got the right brightness, I started distressing with fine grit sandpaper.
After sanding and removing all the sanded bits, I applied more stain to the sanded spots.
I didn't like the stain on the paint, so I sanded a bit more,
Then, applied more paint over those spots using a very small amount of watered down paint and with a dry brush.
Perfect!
I finished the headboard with a coat of clear Polycrylic Satin.
I applied the same technique to the side and foot rails. The whole process took about 10 days.
Even though the finish on the bed was a little different than the sample, it turned out great!
Hope you'll stop by next time to see how the bed looks in our daughter's apartment!
UPDATE: you can see the finished bed HERE.
UPDATE: you can see the finished bed HERE.
Pam


Wow that was a lot of work. I like how it turned out. It looks very professional! I sure your daughter will love it!
ReplyDelete