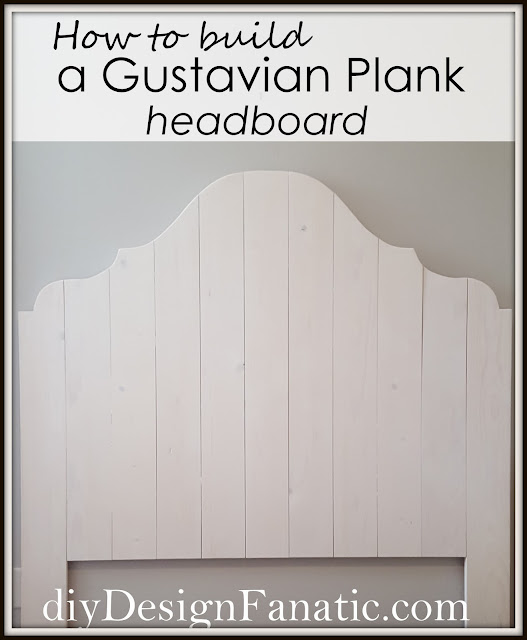
Gustavian is such a fancy name for a curvy farmhouse style headboard that is so easy to build.It's such an easy project that it only took about 5 hours to build and finish. It can easily be built on a Saturday and finished the same day if you start early and already have your supplies.
And it's REALLY inexpensive!
We've never had a headboard for the Guest Bedroom Queen sized bed, and I really wanted Mr. DIY to build one after he built a fabulous Farmhouse Bed for our youngest daughter when she moved into her apartment. I saw a Gustavian bed while perusing Pinterest. The bed costs well over $2,000 and I knew Mr. DIY could build a headboard for a LOT less.
Off to Lowes we went.
Supplies purchased:
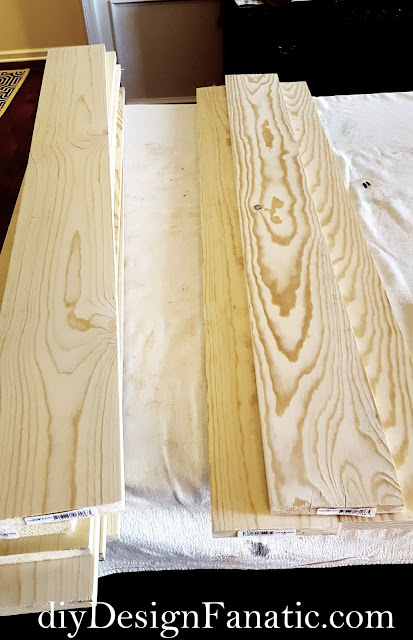
5 - 1x 6 x 8 (for the center part of the headboard)
2 - 1 x 6 x 6 (for the "posts")
2 - 1 x 4 x 6 (or the braces in the back)
1box 8 x 1 1/4" Exterior wood screws
4 - 1/4" x 20 x 1" long bolts
4 - 1/4" flat washers
4 - 1/4" x 20 tee nuts (bolts, washers and tee nuts will be used to attach the headboard to the metal
bed frame.
COST: $75
UPDATE: let your boards sit for a week. Mr. DIY constructed the headboard the day he purchased the boards and a week later, they shrunk and the width had gone down by 1/2"
He cut 5 of the 1 x 6 x 8 boards in half for the center of the headboard.
Then the boards were laid out like this to accomodate the center to be 65 1/2" and the lowest part of the post is 48 1/2"
He screwed the braces to the back. The top brace width is less to accomodate the curve at the top of the headboard.
Wood boards aren't perfect and are warped a bit. He used a tie down to hold the boards together while he screwed the braces on.
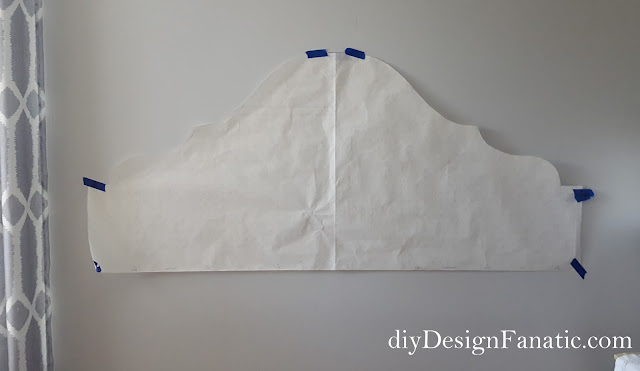
I made a paper template of the curved top of the headboard. It took me awhile to get the perfect shape.
The template was placed on the headboard and the shape was drawn with a pencil.
Mr. DIY used his jigsaw to cut the shape.
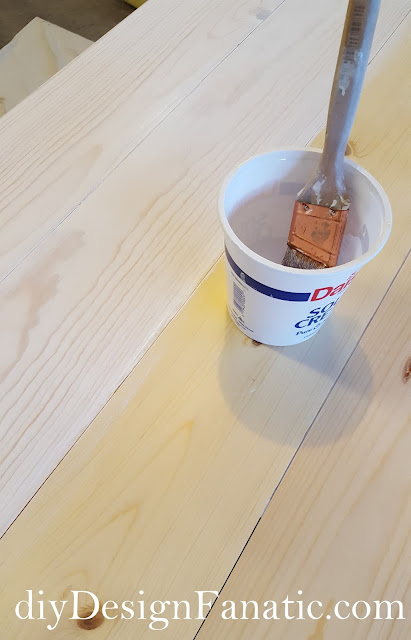
Next, a 50/50 paint mixture was used to finish the bed. I used Signature Ultra White paint in Satin from Lowe's.
I applied the paint with a brush, then wiped it off for the first coat. For the 2nd coat, I used a dry brush technique.
This bed also looks great stained!
All finished!
Here's how the headboard is attached to a metal frame.
I can't wait until Mr. DIY attaches the headboard to the frame, the bed is put back together and the bed is dressed!
 |
Here's how the Gustavian headboard looks in our guest room:
You can see more photos of it HERE
Pam
You can see how we made the Farmhouse Bed HERE
The above post is how we made our Gustavian bed.
We don't take any responsibility for any errors or results obtained from using this information. Using power tools can result in injury. When using power tools, use safety equipment.
We recommend the below products because we use Dewalt tools and absolutely love the Rockwell 4 1/2" saw. Rockwell has excellent customer service!.
These are affiliate links, which means if you purchase something from one of these links, we'll make a small commission. Thanks!


No comments:
Post a Comment
Leave a comment and let me know you stopped by! If you are not on blogger, leave me your email or some other way of getting in touch with you in the comment. That way I can reply to your question or comment.