Showing posts with label barn doors. Show all posts

Tuesday, February 19, 2013

Barn Doors Completely Finished!

It took awhile, but we finally finished the barn doors....

completely.
barn doors, diy barn doors, how to make barn doors, cottage, farmhouse, farmhouse style, basement, barn door hardware, diyDesignFanatic.com

I showed you the barn doors back in December.  There will be a link to how we made the barn doors at the bottom of this post. 
The barn doors looked great just the way they were,
barn doors, diy barn doors, how to make barn doors, cottage, farmhouse, farmhouse style, basement, barn door hardware, diyDesignFanatic.com
but there was something missing. 

Actually, there were a couple of things missing. 
I hemmed and hawed (as my mama used to say) as to which handles to pick and we finally decided on one style. 

barn doors, diy barn doors, how to make barn doors, cottage, farmhouse, farmhouse style, basement, barn door hardware, diyDesignFanatic.com

We also needed a some latches. These attach at the bottom of the door and bolt the doors into the floor.
barn doors, diy barn doors, how to make barn doors, cottage, farmhouse, farmhouse style, basement, barn door hardware, diyDesignFanatic.com


Two extra pieces of 1 x 6's needed to be stained so the latches could be attached to the doors. 
barn doors, diy barn doors, how to make barn doors, cottage, farmhouse, farmhouse style, basement, barn door hardware, diyDesignFanatic.com

Here's a quick little tip for you...if you are waiting a couple of days between the stained coats, but want to use the same staining rag or pad, just store it inside one of the gloves you used while staining. The rag or pad won't dry out this way.
barn doors, diy barn doors, how to make barn doors, cottage, farmhouse, farmhouse style, basement, barn door hardware, diyDesignFanatic.com


Here's the bottom of the door without the new piece. 
barn doors, diy barn doors, how to make barn doors, cottage, farmhouse, farmhouse style, basement, barn door hardware, diyDesignFanatic.com


Mr. DIY screwed it on.
barn doors, diy barn doors, how to make barn doors, cottage, farmhouse, farmhouse style, basement, barn door hardware, diyDesignFanatic.com


I need to use a marker to touch up the nail heads so they won't stand out so much.
barn doors, diy barn doors, how to make barn doors, cottage, farmhouse, farmhouse style, basement, barn door hardware, diyDesignFanatic.com

Here are the latches installed. A couple of holes were drilled in the concrete floor with a hammer drill.
Boy is that noisy!

The cover plates cover up the not so pretty holes.
The latches give us extra security on the basement door and they add to the rustic look of the doors.
barn doors, diy barn doors, how to make barn doors, cottage, farmhouse, farmhouse style, basement, barn door hardware, diyDesignFanatic.com

Mr. DIY also installed the handles. 
barn doors, diy barn doors, how to make barn doors, cottage, farmhouse, farmhouse style, basement, barn door hardware, diyDesignFanatic.com


Here are the doors without the hardware:
barn doors, diy barn doors, how to make barn doors, cottage, farmhouse, farmhouse style, basement, barn door hardware, diyDesignFanatic.com

Here are the doors with the door handles and latches installed. (Mr. DIY also installed door stops on the baseboards behind the furniture)
barn doors, diy barn doors, how to make barn doors, cottage, farmhouse, farmhouse style, basement, barn door hardware, diyDesignFanatic.com

Here are the doors open. I took off the blinds they aren't needed since the doors are shaded by the deck above and the barn doors if privacy is needed. 
barn doors, diy barn doors, how to make barn doors, cottage, farmhouse, farmhouse style, basement, barn door hardware, diyDesignFanatic.com

Hope your week is off to a great start!
Doesn't it feel great to check another project off the list?

Pam
PS: if you'd like to see how we made the barn doors, just click HERE


ps: several people have asked, so I'm including a link to the hardware. For disclosure purposes, I have not been compensated in any way. 
The hardware is  from Signature hardware. You can find them here: https://www.signaturehardware.com/hardware/barn-door-gate-hardware/heron-iron-square-twisted-pull.html
The iron surface bolt can be found here: https://www.signaturehardware.com/iron-surface-bolt.html

Monday, January 7, 2013

DIY Barn Doors


I'm finally going to share how we made the barn doors for our basement Family Room. 

I've always thought barn doors were awesome and wanted to put them somewhere in our house, but didn't know where. It finally hit me that barn doors over the existing patio doors in the basement would serve two purposes; the first being for privacy and second for security. The barn doors fit over the existing blinds that we have installed on the patio doors, but I am thinking of taking them off because no sun ever hits the windows due to the deck covering the patio just outside.

barn doors, diy barn doors, how to make barn doors, cottage, farmhouse, farmhouse style, basement, fireplace, diyDesignFanatic.com


Mr. Fanatic bought galvanized barn door hardware at Tractor Supply and I spray painted the pieces an oil rubbed bronze, which is almost black.
barn doors, diy barn doors, how to make barn doors, cottage, farmhouse, farmhouse style, basement, fireplace, diyDesignFanatic.com

Here are the 8ft unpainted galvanized box rails.

Mr. Fanatic marked the studs in the wall with tape.
barn doors, diy barn doors, how to make barn doors, cottage, farmhouse, farmhouse style, basement, fireplace, diyDesignFanatic.com


He then marked where the studs were on  the pine 2 x 8  for the left side and then on a 2 x 8 for the right side. The two 2 x 8's were used as a header to hang the rail for the doors on. After marking the headers, Mr. F pre-drilled holes in them.
barn doors, diy barn doors, how to make barn doors, cottage, farmhouse, farmhouse style, basement, fireplace, diyDesignFanatic.com

I stained the two headers with oil based Jacobean stain by Minwax. You can see the pre-drilled holes in the header.
barn doors, diy barn doors, how to make barn doors, cottage, farmhouse, farmhouse style, basement, fireplace, diyDesignFanatic.com

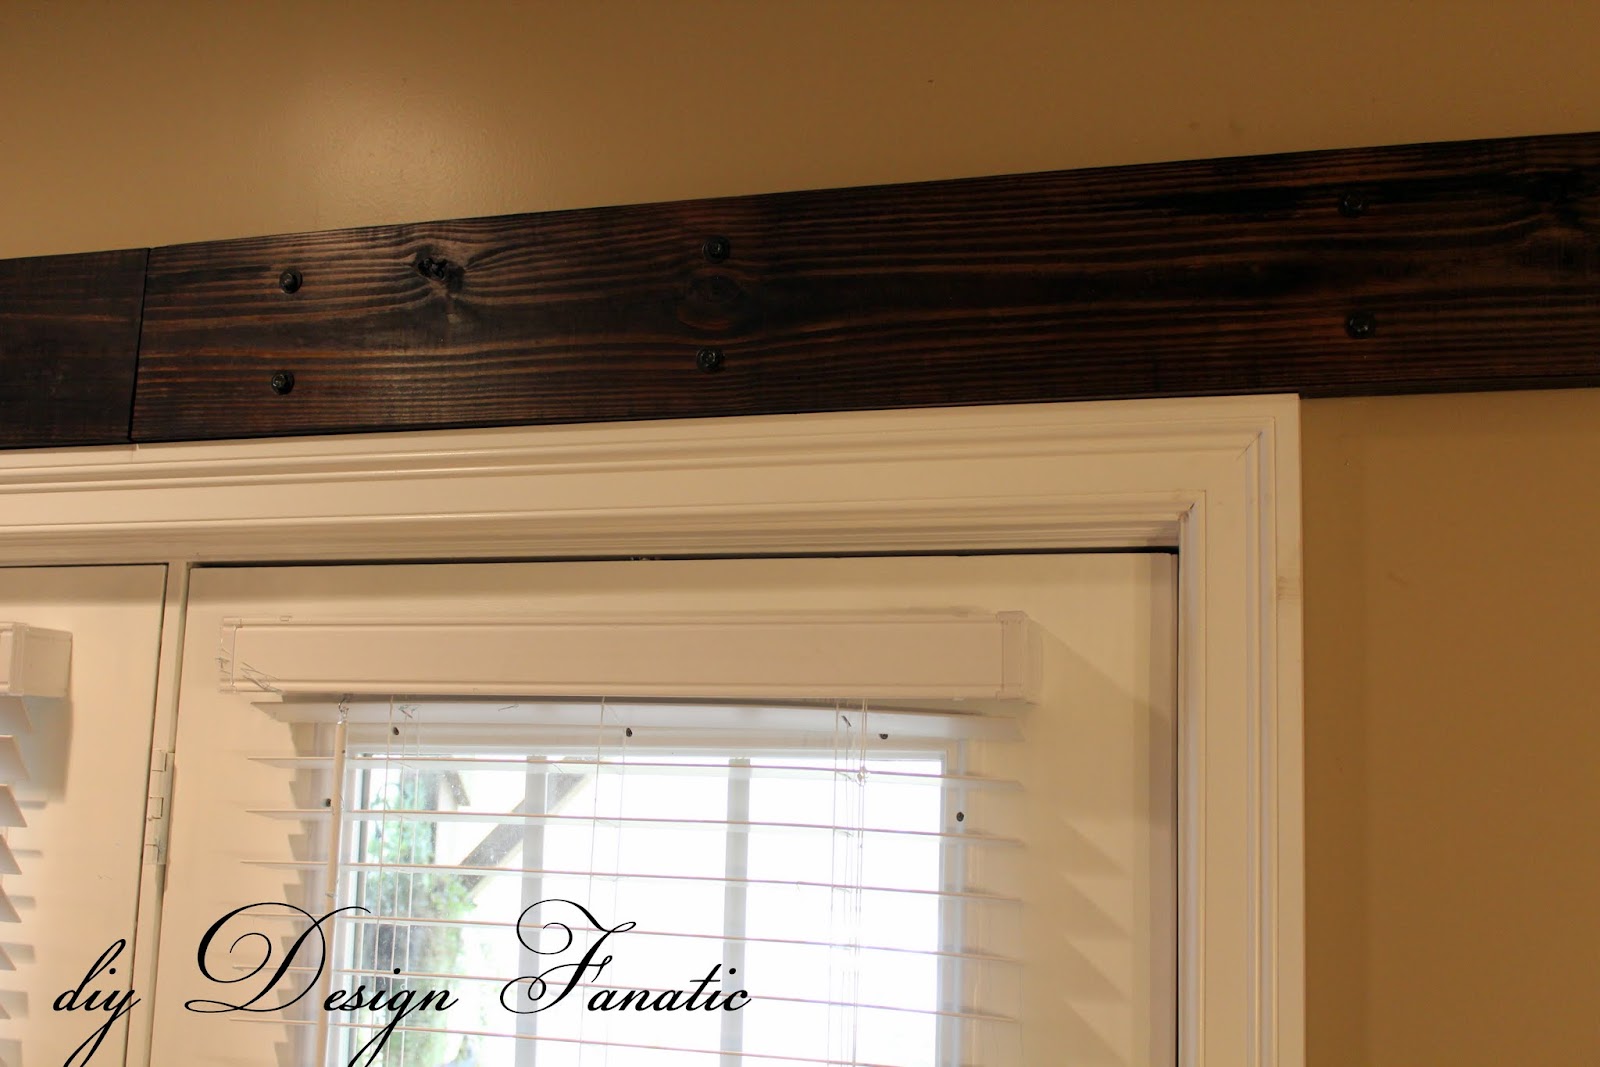
After the stain was dry, Mr. F installed the header. I knew as soon as the header went up that the barn doors were going to look great.
barn doors, diy barn doors, how to make barn doors, cottage, farmhouse, farmhouse style, basement, fireplace, diyDesignFanatic.com

He attached the header to the studs with 1/2" diameter x 5" lag screws (with washers)
barn doors, diy barn doors, how to make barn doors, cottage, farmhouse, farmhouse style, basement, fireplace, diyDesignFanatic.com

He attached a small piece of 2 x 4 (that was my stain sample) to test out how to adjust the hangers.
barn doors, diy barn doors, how to make barn doors, cottage, farmhouse, farmhouse style, basement, fireplace, diyDesignFanatic.com


To make the doors, Mr. Fanatic used eight 2 x 6's, which are roughly each 5 1/2" each, making each door 44". (Each door covers the exterior door plus the width of the width of the molding and the center frame between the two doors).
The eight 2 x 6's were clamped together with pipe clamps and sanded down.
barn doors, diy barn doors, how to make barn doors, cottage, farmhouse, farmhouse style, basement, fireplace, diyDesignFanatic.com

Since 2 x 6's are not all perfect, Mr. F hammered them down so they wouldn't stick up quite so much. He used a wood block so the hammer wouldn't leave marks.
barn doors, diy barn doors, how to make barn doors, cottage, farmhouse, farmhouse style, basement, fireplace, diyDesignFanatic.com

barn doors, diy barn doors, how to make barn doors, cottage, farmhouse, farmhouse style, basement, fireplace, diyDesignFanatic.com

After that, he measured the height that he wanted for the door, then cut the door to length.
barn doors, diy barn doors, how to make barn doors, cottage, farmhouse, farmhouse style, basement, fireplace, diyDesignFanatic.com


He then layed out the 1 x 4's that would hold the  boards together. We chose a Z pattern.
barn doors, diy barn doors, how to make barn doors, cottage, farmhouse, farmhouse style, basement, fireplace, diyDesignFanatic.com

Mr. F used 1 1/2" torx drive screws to hold the boards together.
barn doors, diy barn doors, how to make barn doors, cottage, farmhouse, farmhouse style, basement, fireplace, diyDesignFanatic.com


Once the first door was made, Mr. F. hung the door to make sure it would all work.
barn doors, diy barn doors, how to make barn doors, cottage, farmhouse, farmhouse style, basement, fireplace, diyDesignFanatic.com

After Mr. F made the 2nd door, I stained the first coat on the first side. You can see the 2nd door on the pool table.
barn doors, diy barn doors, how to make barn doors, cottage, farmhouse, farmhouse style, basement, fireplace, diyDesignFanatic.com

I stained each side with two coats of stain and let the stain dry 2 days between each coat.  I did the same for the other sides of the doors.
barn doors, diy barn doors, how to make barn doors, cottage, farmhouse, farmhouse style, basement, fireplace, diyDesignFanatic.com

Mr.F had to change out the cable connector to one that turned 90 degrees and the plugs on the TV to flat plugs (on the left side of the doors and lamp on the right side of the door) in order for the barn doors to open while everything was plugged in.  
barn doors, diy barn doors, how to make barn doors, cottage, farmhouse, farmhouse style, basement, fireplace, diyDesignFanatic.com


Mr. Fanatic still has to the handles, slide bolts, guides, and will add stops to the ends of the rails.
Can't wait to get the handles on.
barn doors, diy barn doors, how to make barn doors, cottage, farmhouse, farmhouse style, basement, fireplace, diyDesignFanatic.com


In the meantime, we can still enjoy the barn doors.


I think they really make the room.

Here's the before:
barn doors, diy barn doors, how to make barn doors, cottage, farmhouse, farmhouse style, basement, fireplace, diyDesignFanatic.com


And After:
barn doors, diy barn doors, how to make barn doors, cottage, farmhouse, farmhouse style, basement, fireplace, diyDesignFanatic.com


Mr. F's next projects include making some coordinating shutters for the little window next to the fireplace and a heavier door to the unfinished part of the basement. 

The projects list for 2013 is getting longer.


Pam
ps: just in case you're wondering, we spent approximately $650 on the doors and all hardware...$550 for what is shown in the last photo. (yep, we splurged on the handles and gate latches & they're bee u tee ful!)


UPDATE: if you'd like to see the fancy hardware we put on the Barn Doors, click here.

We purchased 2 of these from Amazon if you're wondering where to get them:


.

Disclaimer: The above post is how we made our barn doors. I don't take any responsibility for any errors or results obtained from using this information. When using power tools, use safety equipment.
If you order from Amazon by clicking the link, I will make a commision on them. 

Friday, December 28, 2012

End Of The Year Wrap Up 2012

Just a few more days until a brand new year. Don't ya just love a new start? The end of the year is also a time of reflections for me; I like to look back over what was accomplished.  I even forgot about a few of the projects I did this past year. Must be getting old ;)

The Two pillows I made for the vintage chairs in my Foyer were easy to make. I'm hoping to do a few more simple sewing projects in 2013.


Another easy project for January was a wood sign made from a leftover 2 x 6. 


The post on how to make Wax Paper Crayon Hearts was viewed 12,500 times. I was surprised at the count since it was such a simple craft.


I had fun making  some Valentine Hearts. These were made with vintage fabric that my grandmother made me a dress out of when I was 8 years old.

Raised beds  in our North Garden were finished in March.

My Wax Paper Transfer project was really fun. Thank you Graphics Fairy!


I made some Pretty Little Pillows for our daughter in California in June.


One of my favorite projects of the year was the Jewelry Organizer  Mr. Fanatic and I made for our youngest daughter.

I was so happy to show you our New Paint For The Family Room... It only took me several years to pick a color. lol.


Who doesn't love a super easy paint makeover? The Painted Side Table on our basement patio got a fresh coat of paint last summer.

Everyone seemed to love  Make A Basket From A Wine Box and Baskets Made From Cardboard Boxes, as they have been viewed over 59,000 times. Whooda thunk?


Spent some time in the kitchen sharing How To Dry Basil that I grew in my herb garden. I dried enough to last me until the next harvest. In just a few months, it will be time to start thinking about the Spring garden.


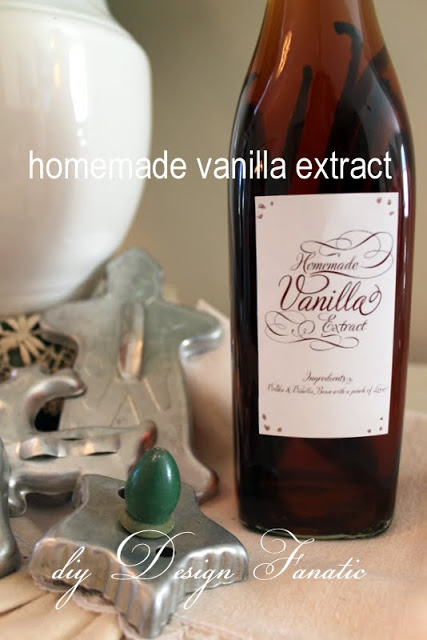
Making Homemade Vanilla Extract couldn't be easier. 


I must have struck a nerve in October with How To Store Your Stuff because it was clicked on 63,000 times. Guess there are lots of people who have a bunch of stuff to store!

We're all still loving the  Solar Tube Mr. Fanatic installed in our upstairs bath. The light it brings into the room is fantastic.

Finally, Christmas decorating in December. My favorite room to decorate is our Breakfast Room.


Fortunately for ya'll, I've left a few projects out, otherwise, we could be here for hours.

Even though we built our Barn Doors for the Basement, I haven't shared them yet because there's still a debate on diy Design Fanatic Facebook page and at Casa Fanatic about which door pulls to choose. I shared this photo the other day, which shows a peek of the Barn Doors in our Basement Family Room. Hopefully, you will see them all finished soon!

Thank you all for stopping by all these months and for leaving your nice comments. Ya'll are just too nice.
I am so grateful to have so many wonderful blog friends and I'm looking forward to "meeting" some new friends in 2013.

Happy New Year to you and your family!

Pam