Jenny's friend Emily was planning her wedding over the summer and wanted some wood rounds for the centerpieces on the tables for the guests.
I looked high and low for her, desperately trying to find some inexpensive options online and in stores. I found these in HomeGoods, but they were a little pricey at 19.99. X 20 tables and it was a no go.
Emily and Jenny thought we might be able to cut some rounds out of the large pile of huge, unsplit oak logs at our mountain cottage, but most of the logs we had cut were missing the bark.
There are several smaller trees on our property that need to be cut down because in a few years. they'll block our much loved view. We thought one of the tree trunks might be large enough in diameter and could be cut up in rounds. We hadn't planned on cutting down the trees, though, until the Winter after the leaves had fallen and most likely, not until next year.
I wasn't sure we'd have enough time to fit that into the list of projects we needed to do, but Tim thought if Jenny, Emily and Aaron (Emily's fiancee) went up and helped him, they could get it all done that day.
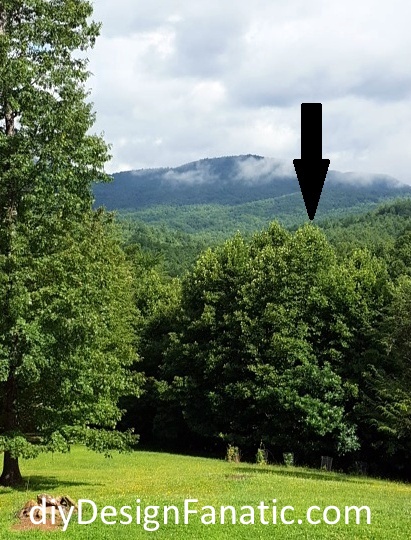
Here's a pic of the trees that needed to take down. We thought that one of those trees was large enough to be cut up as rounds.They chose the tree below the arrow. It was a Poplar tree about 50-60 feet tall and only a few years old. Poplar trees grow FAST!
Here's how it looks after the tree was cut down. Mr. DIY met Jenny and her friends at the Mountain Cottage on a Saturday and were able to get the job done. It was easy enough to cut the tree down, but getting the logs up the hill to the wood pile next to the driveway, took teamwork. Mr. DIY said he couldn't have gotten it done on one Saturday without their help.
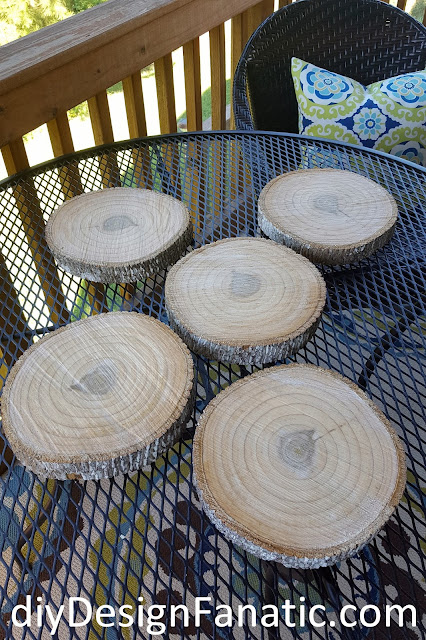
I set them outside on the table on the screened porch. It was pretty humid over the summer and thought they would dry out slowly.
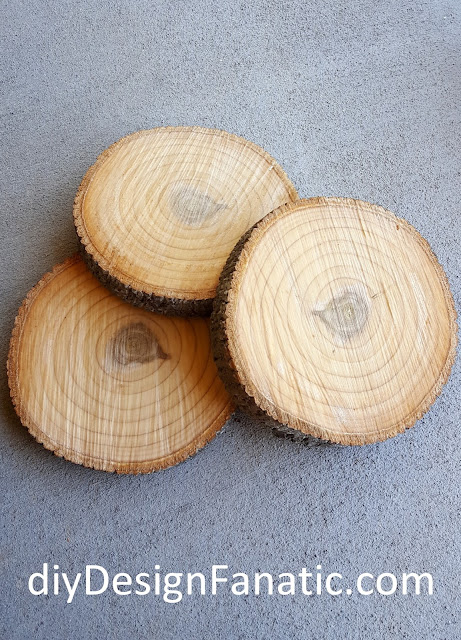
Looking back, I would have stacked them up like this and wrapping them in muslin fabric so they would dry more slowly. You'll see in the next photo that the rounds cracked. I still like them though...
Mr. DIY sanded the rounds down for me with a belt sander. Note to self: do this outside and not in the garage! Dust was everywhere after sanding the first wood round! He sanded the rest outside in the backyard. I left my wood rounds unfinished, but I might apply some poly in the near future.
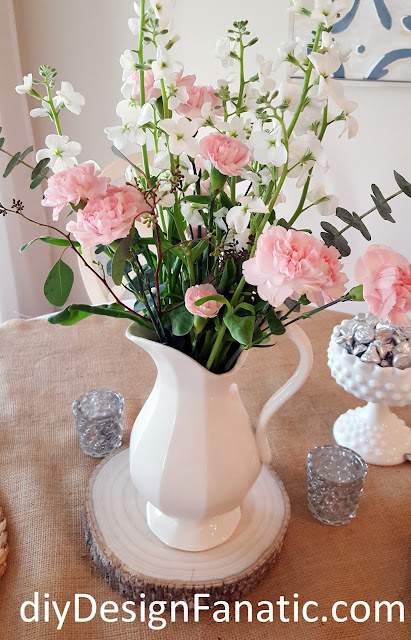
I used mine for Emily's shower that Jenny hosted at our house. You can see more about the shower HERE:
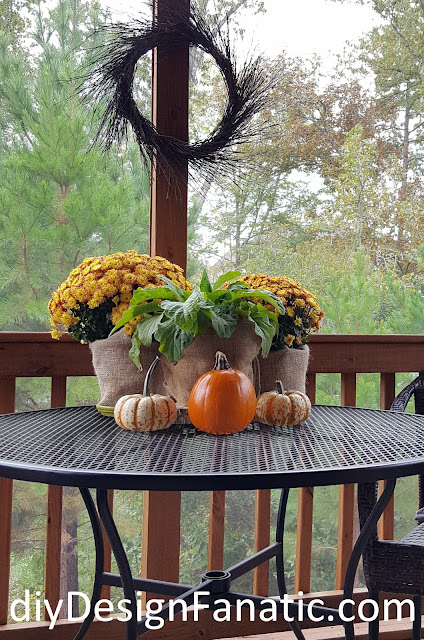
I continue to use the rounds for decoration. Here, you barely see the round, but it raises the green plant to just the right height.
Thanks for stopping by!
Pam





How great that your Mr. DIY made those rounds for you!....they look fantastic! Several years ago we had a large Cedar tree go down...we should have salvaged the wood...I am sure the tree guy did!
ReplyDeleteThat was so nice of Mr. DIY to do that. I have a giant ash tree out back that fell over that would be ideal to cut some discs from but it’s in a dangerous position so we can’t cut from it. I have one wood disc with little feet I bought a couple of years ago but like you found the ones for sale now are just too expensive to buy in quantity.
ReplyDeleteGreat idea...a win/win with that tree! Hubby cut a few rounds for me from a birch tree we had fall. I could not believe that birch logs are sold on eBay for decor. I stamped them with the kid's names to hang with their stockings on the fireplace...they were small and thin.
ReplyDeleteJane