Mr. DIY wasn't so sure about building floating open shelves in the kitchen at the Mountain Cottage. I grew tired of him saying he didn't know how the shelves could be strong without having more studs to screw them into.
I never doubted he could build them.
I showed him multiple photos of other bloggers who had built them.
He still doubted.
I told them he could add shelf brackets for added support.
He still doubted.
Here's how he made them:
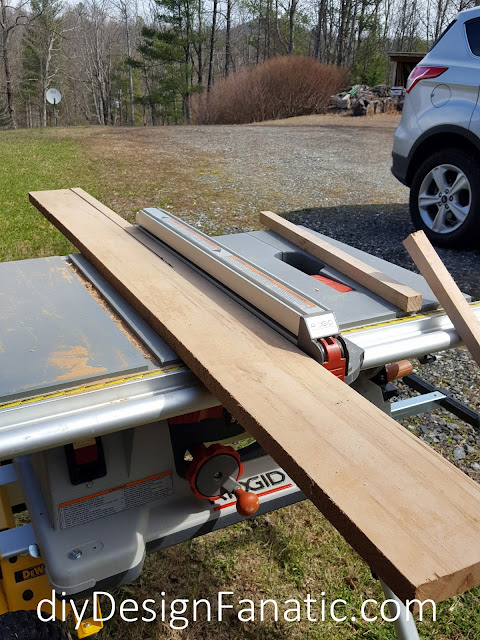
First, he cut 1 x 1s out of a piece of stock material he already had.
Frames for the shelves were made out of 1 x 1s
1/2" birch veneer plywood was attached top and bottom. They were glued and nailed with 1 1/4" brads. The stick makes sure it's level as the glue dries.
After wrapping the edges with 1/4' thick poplar, the joints and nail holes were filled with wood putty.
Finishing is usually my job, but Mr. DIY primed and painted the shelves. He used Valspar Signature Ultra White in Satin.
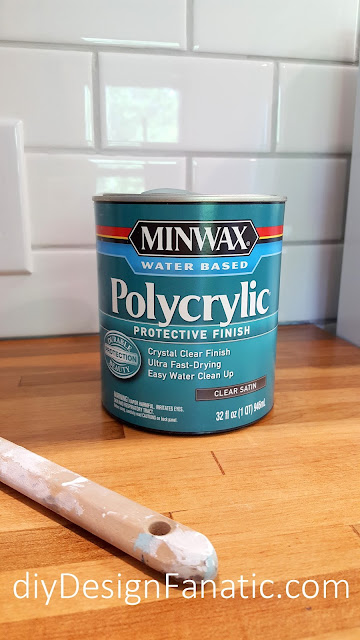
Our not so secret weapon so insure shelves won't stick...We apply this to any horizontal surface where something will placed.
I think the shelves turned out beautifully, don't you?
The shelves are very sturdy and strong and don't move when Mr. DIY yanks on them...
and set heavy bowls, pitchers and cake stands.
He's finally a believer!
There are more photos HERE if you missed my post a few days ago.
Mr. DIY built the banquette this week. Here's a sneak peek...
He finished constructing and adding the detail to the fronts and sides.
He should finish up painting the next time we come up.
Then I'll have to make some pillows and cushions.
The hood is our last building project in the kitchen.
We've been working on the kitchen reno for a long time and it will be good to get it finished!
Hope you have a great week!
Pam
Disclaimer: The above post is about how we built our floating shelves. We don't take any responsibility for any errors or results obtained from using this information. Using power tools can result in injury. When using power tools, use safety equipment.


They did turn out beautifully. I'm glad he finally agreed. They are gorgeous. Can't wait to see the banquette!
ReplyDeletePeople are always going to doubt their own skills until they've actually hunkered down and tried to do it. The best solution to this kind of fear is to just bite the bullet and go into the water headfirst. Practice makes perfect too so keep going until you get better at doing what you're afraid to start in the first place!
ReplyDeleteWow..they look fantastic!!!....Yes, they all become believers when it all comes together! Great job!!!
ReplyDelete